> For the complete documentation index, see [llms.txt](https://docs.cloudcyte.com/llms.txt). Markdown versions of documentation pages are available by appending `.md` to page URLs; this page is available as [Markdown](https://docs.cloudcyte.com/getting-started/configuring-modules/network-security/enabling-windows-thor-analysis.md).
# Enabling Windows Thor Analysis
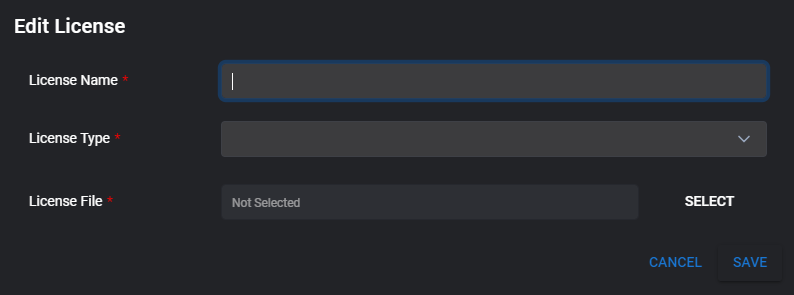
Initially, the first step is to go to "Settings & Reporting" -> "Integration Settings". After that, click "Thor License Management". This page allows Thor License file definitions. Click on the "+License" button.
A little modal will open. Choose the license type with two options; "Thor" or "Thor Lite". Define the license type and click on to save button.
After adding a license, create a "Windows Thor Analysis Policy". Go to the "Rules & Policies" -> "Policy Management" and "Policy Rules". On this page, click the "+Policy" button to create a new policy.
On the new policy page, choose the module and type. Select "SIGMA & YARA", and choose between "Windows YARA/Thor Analysis" or "Windows Thor Lite Analysis". Give a name to the policy. The description is optional.
Select the Thor license that was created. After selecting the license, change the collection interval. The default value is 30 minutes. Then set "Collection Time Intervals", which means the policy will run between the interval. Please choose the collection frequency, the system can run this policy always, once a day, week, or month. It is recommended to run weekly.
Please choose info, notice, warning, and alert options in the "Minimum Collection Level". With these options, the system can send the Thor logs for the specified level. The system can run only selected modules. Up to five modules should be selected.
Select the quick mode for faster scanning. The "Get Shim Cache" option is optional. Users can add custom commands on "Custom Command". Finally, click on the "Save" button.
Now add this policy to the policy group. Go to "Group Management" under the "Rules & Policies" -> "Policy Management". On the grid, the system has a base group, click on the three dots right side of the grid and click on edit.
Scroll down and find the "Thor Policy". Select the policy just created. Scroll to the bottom of the page and click on the "Save" button. It is possible to see the results on the "YARA/Thor Analysis" grid under the "Threat Hunting" -> "Analysis & Investigation" module. Use classification rules to eliminate the false positive items.